Dashboard
The ContentLock dashboard gives administrators and editors with the Unlocker permission a birds-eye view of all currently locked content nodes across the entire site.
Accessing the Dashboard
Section titled “Accessing the Dashboard”- Navigate to the Content section in the Umbraco backoffice.
- Click the Content Lock tab in the section header (next to Content, Media, etc.).
Dashboard Columns
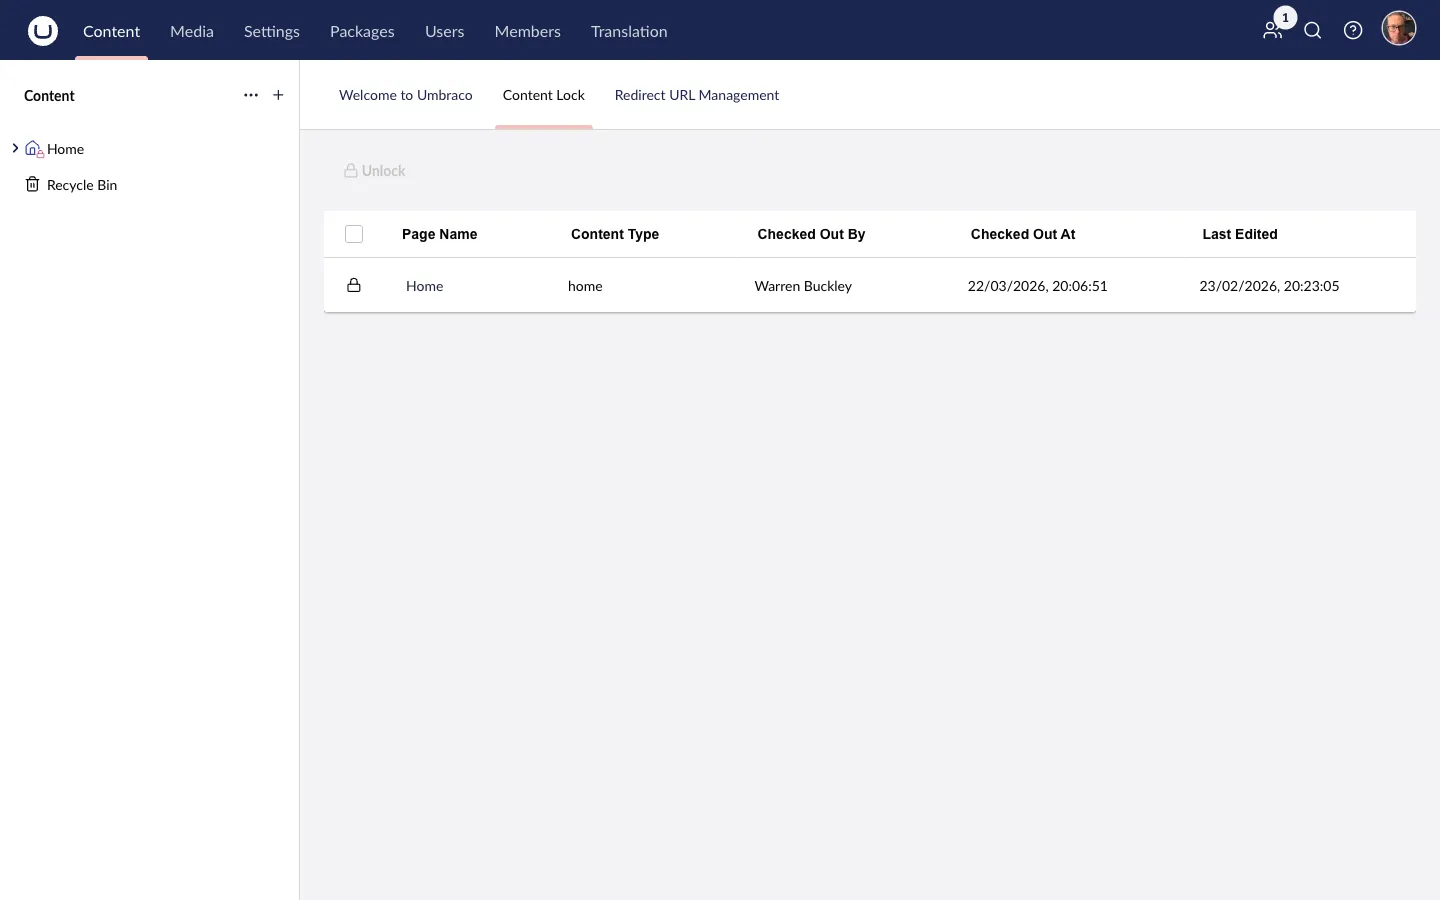
Section titled “Dashboard Columns”The dashboard displays a table with the following columns:
| Column | Description |
|---|---|
| Page Name | The name of the locked content node, linking directly to it |
| Content Type | The document type / content type alias |
| Checked Out By | The name of the user who holds the lock |
| Checked Out At | Date and time when the lock was applied |
| Last Edited | Date and time of the last edit to the node |
If no nodes are currently locked, the dashboard shows an empty state: “No locks — 🎉 Zip, zero, nada”.
Single Unlock
Section titled “Single Unlock”To unlock an individual node from the dashboard:
- Find the row for the locked node.
- Click the Unlock button in the row.
The lock is released immediately and removed from the table. The change is broadcast to all connected editors via SignalR.
Bulk Unlock
Section titled “Bulk Unlock”Bulk unlock lets you release multiple locks at once — useful after a deployment, content freeze, or when cleaning up stale locks from editors who have left.
Requires the ContentLock.Unlocker permission.
- Tick the checkboxes next to the nodes you want to unlock (or select all).
- Click the Bulk Unlock button.
- All selected locks are released in a single operation.
A toast notification confirms: “The selected content has been unlocked successfully”.
Screenshot
Section titled “Screenshot”